Watch our video on setting up search in your MVC web application or read full details below.
Simple steps to add search to your MVC web project
You can use SearchUnit to add search functionality to any ASP.NET based web application. By utilizing JavaScript, SearchUnit is open to all development platforms and frameworks including; MVC, ASP.NET AJAX, Web Forms, Razor, HTML, ASP and more.Here we're going to run through setting up search in an MVC 5 application but these steps can be used as a guide for other MVC versions.
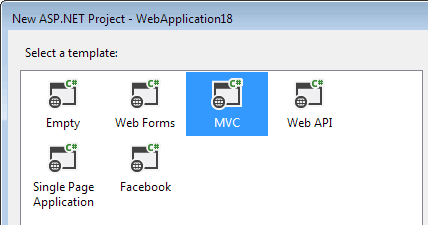
Load/Create your ASP.NET MVC web project.
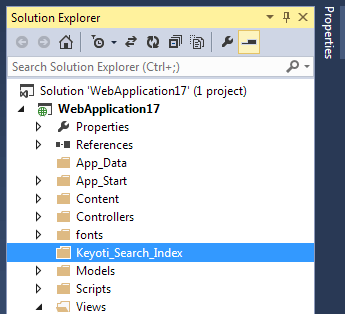
Create a new folder to store the index files;
Right Click your MVC Project in Solution Explorer
Select Add -> New Folder
Rename the folder to Keyoti_Search_Index
Open the Index Manager Tool and enter the path to your index directory.
The Index Manager Tool can be found under the Start Menu;
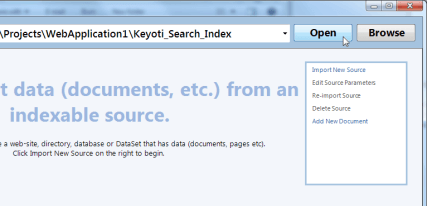
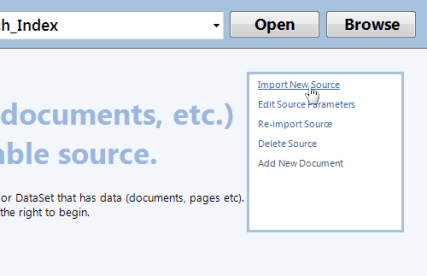
Select 'Import New Source', enter the start URL & click 'Import'.
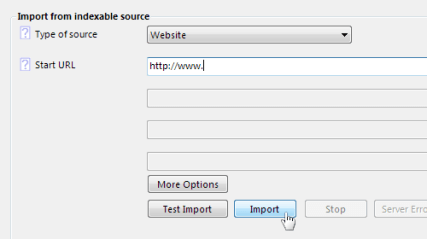
If an error reports the page cannot be read, please check the URL or consult the user guide for help.
Once the import is complete close the Import window, select 'Optimize' and click 'Start Optimize'.
Copy the SearchUnit scripts folder to your MVC project;
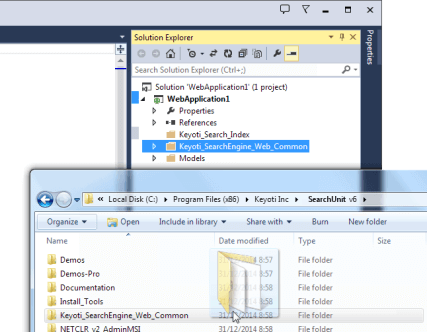
Open the SearchUnit install folder (via Start Menu or File Explorer).
Copy the Keyoti_SearchEngine_Web_Common folder.
Paste to your application's Solution Explorer.
Add the SearchUnit JS and CSS tags to the head of your page.
If you haven’t already done so, you will need to add this package via the Package Manager Console;
Configure SearchUnit.CSS and SearchUnit.js in your MVC application’s App_Start\BundleConfig.cs file;
"~/Keyoti_SearchEngine_Web_Common/SearchUnit.css"));
bundles.Add(new ScriptBundle("~/bundles/searchunit").Include(
"~/Keyoti_SearchEngine_Web_Common/SearchUnit.js"));
Render the bundles in your .cshtml;
@Styles.Render("~/Keyoti_SearchEngine_Web_Common/searchunit")
You may need to add
to your AppStart\RouteConfig class.
This prevents calls to .svc Service URLs being mapped to a controller, and instead allow the call to go to the .svc file.
Add the SearchUnit divs to your page.
<div id="sew_searchResultControl"></div>
sew_searchBoxControl is the search text box and button.
sew_searchResultControl is the search result control.
Run your MVC web application (hit F5) and try a search!
Note: If you encounter 404 errors then try adding the following to your web.config under system.webserver;
Copy SearchUnit DLLs to server if necessary.
If the SearchUnit MSI has NOT been installed on a machine, then the SearchUnit assemblies must be copied to the application's BIN folder. Please copy the contents of NETCLR_v4_BIN (located under C:\Program Files (x86)\Keyoti Inc\SearchUnit v6) to the application’s BIN folder on any servers that you deploy to.
Go further!
Now you're ready to explore more features in SearchUnit, please take a look at the 'Features' page in the help for more information on all that SearchUnit can do.